

 free people
Beauty
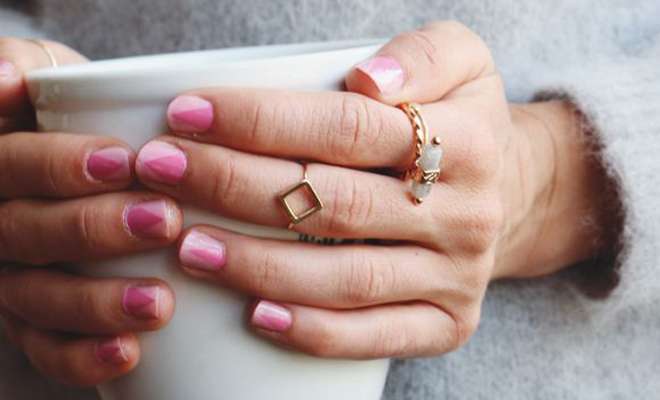
5 DIY Divine Manicure Designs for Beginners
Why drop tons of money on weekly manicures that chip and smudge, in a matter of minutes, when you can create your own beautiful nail art designs, right at home? That’s right- with just a couple of simple household items, you can achieve the flawless look of freshly manicured nails, so lovely, that your girlfriend’s will abandon their own nail salons and start coming to you for a professional, polished look. Check out some of the hottest nail art designs, that you can do yourself. Perfect for those who struggle doing their own nails, these styles are fast, easy, flirty, and fun. Follow these simple steps, and you will be painting like a pro in no time at all.
First, Here is a diagram to apply a basecoat, just as professional manicurists apply nail polish:

Don’t forget to apply a couple coats in layers, rather than one thick layer all at once. This will minimize smudging, chipping, and yield the best results once the designs are applied. Also, in order to get the best results for any nail art design, you must wait until your basecoat has completely dried before adding the pattern layer. Also, always allow the design layer to dry, before adding your layer of top coat. I know sometimes people prefer a more matte look, and therefore skip the top coat step, but a top coat makes the style last longer, is great for concealing minor flaws in the design, and can actually help speed up the drying process, limiting the opportunity for error. If you prefer a less glossy look to your nails, opt for a top coat with minimal sheen. More on how to get this look.
Now lets get down to the designs.
- An Opaque nail polish color for the base
- A Contrasting nail polish color to the base, for the top design coat
- A Toothpick, to draw the crescent.
- A Clear Top Coat

